I know that’s for many Jeep owners it’s a piece of cake. Also it’s nothing you do every day. Probably most of you will never do it in theirs but it happened to me on Saturday – my engine started chirping. I looked and listened to the engine and (with help from the Jeep Forum guys) narrowed causes down to ignition distributor and/or oil pump. I decided to start with the distributor (lately if turned out to be good decision). Here is small how-to.
Removal
1. Tools
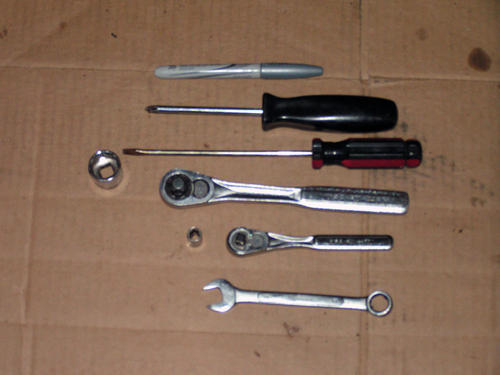
All you need is on the picture:
- flat screwdriver
- philips screwdriver
- 13mm wrench
- 19mm socket and ratchet
- 8mm socket
- Sharpie marker
After you have all tools we can start the job
2. Remove auxiliary electric fan
This step is only necessary when procedure is done on the Cherokee (XJ) model – this is the only way to turn the crankshaft vibration damper. In Grand Cherokee (ZJ) you have access to this bolt from underneath. Now disconnect the battery negative cable, then disconnect the radiator fan electric connector:
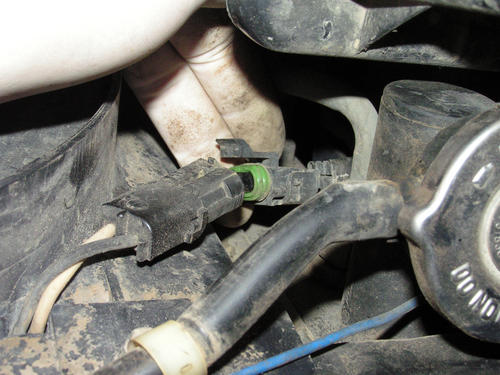
Then unscrew (using 8mm socket) two bolts which are also mounting points for coolant reservoir pipe:
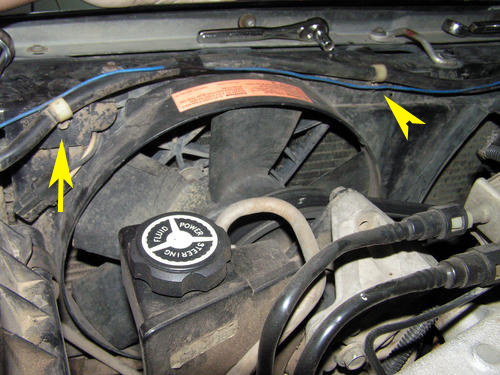
And remove it simply pulling it up.
3. Remove distributor cap
But before you do this there are two things to be done. First – write down somewhere numbers to which cylinder which wire goes. Unfortunately there is no such info on any distributor caps I have seen. You can also print this picture:
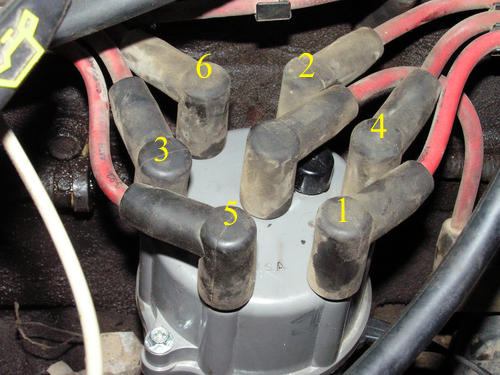
Then make a mark both on the distributor and the cap just next to the cylinder number one terminal:
Now, using philips screwdriver, unbolt and remove distributor cap.
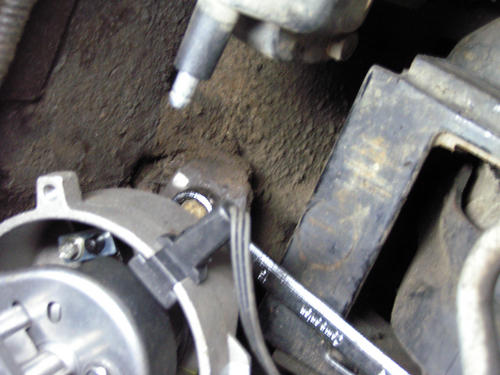
4. Set crankshaft in correct position
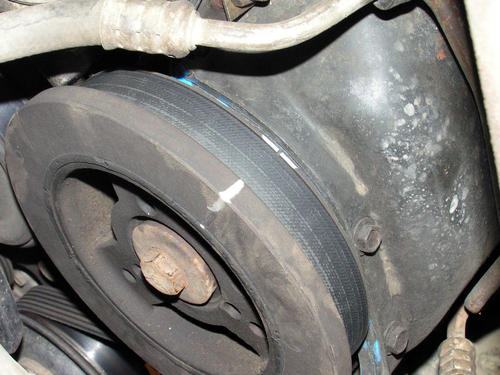
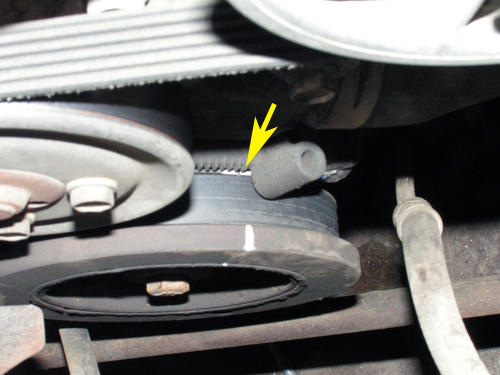
Now lie under the car and turning the crankshaft vibration dumper clockwise (!) find the notch on it and mark it with sharpie – it will make our job a little easier:
Then, this time from the top, rotate it clockwise until that notch will be aligned with 0 degree mark:
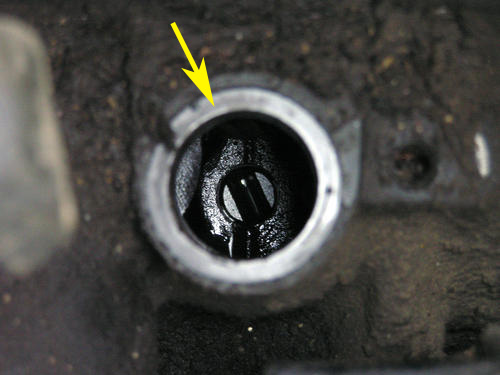
Now the rotor should be aligned with the mark we did before:

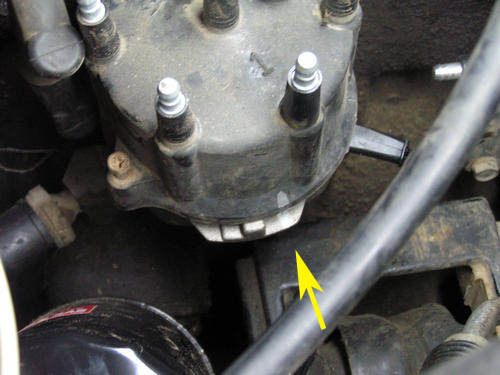
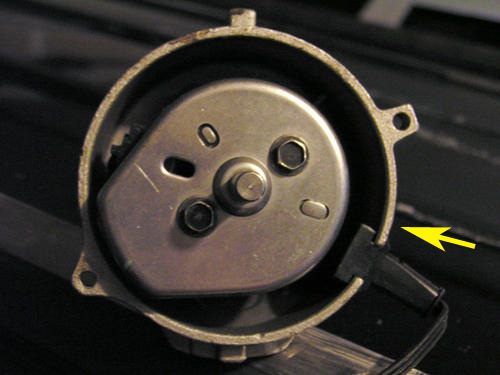
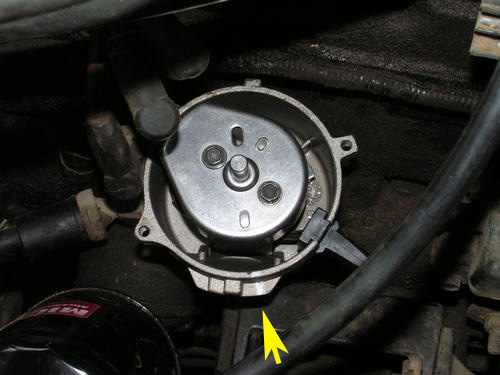
5. Remove the distributor
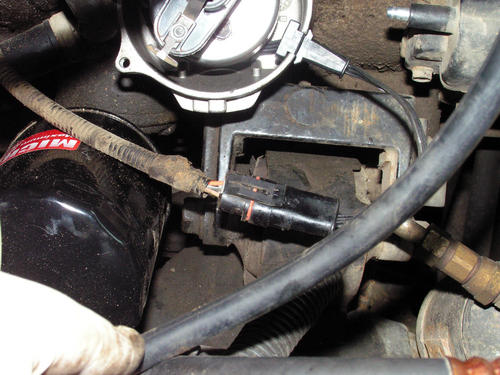
Now take out the rotor. Then disconnect distributor’s connector
Now using 13mm wrench unbolt distributor from engine block:
and pull it out from the engine.
Installation
6. Set oil pump
Before inserting new distributor in it’s place you need to make some alignment. First, using flat screwdriver, set the oil pump shaft around 11 o’clock position:
7. New distributor preparation
Then take the new distributor, put the old cap on it and mark the distributor next to the number one cylinder terminal as you did with the old one.
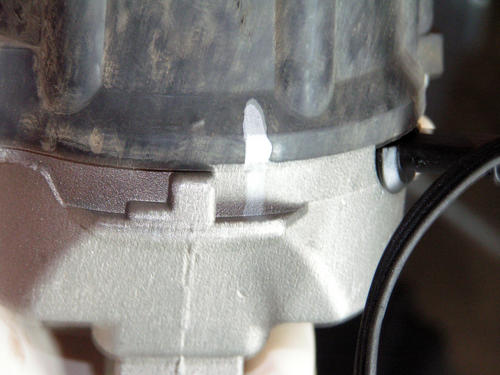
Then set distributor’s shaft in a way that rotor’s line should point on 4 o’clock.
8. Insert new distributor
Remembering about distributor gasket insert new distributor carefully into the engine’s block keeping distributor’s hold down ear aligned with bolt hole in the engine. During the insertion process the distributor shaft should rotate a little bit. At the and it should point exactly at the mark we made before.
If it points in other direction you have to pull it out again and change the initial position to achieve the final one. Then bolt it down to the engine’s block.
9. Rotor, cap, connections
Now install the rotor, then the cap and distributor connector. Then using previously made notes correctly connect all ignition cables.
10. Fan
Reinstall the auxiliary fan and connect negative battery cable. Start engine. Take a beer.
Technorati Tags: Jeep, Cherokee, XJ, Grand Cherokee, ZJ, distributor, rotor, cap