Last fall while replacing our water heater the technician made a quick look and said that our furnace is going to need some attention in the near future because of cracked igniter. It was still working then but he said it may need replacement any time. Of course I didn’t think about it much then but, as Mr. Murphy says, things always go wrong when you least expect them. So our furnace decided to start dying when we needed to reheat our house after last week ice storm power blackout. This time I didn’t wait long and ordered needed parts from Arnold Service. As quick as small business can be – they were sent immediately and arrived in two days.
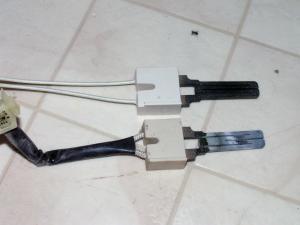
Below you can see “before” state – flame sensor on the left and igniter on the right.
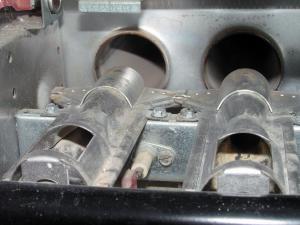

It’s not that hard to see that igniter is not looking ok, although it’s much harder to recognize that flame sensor is not good either – it’s loose and not always correctly sensing flame which results in unnecessary furnace cycling.
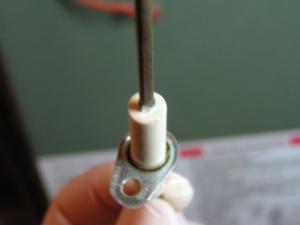
The hole operation was quick and easy. First I replaced the flame sensor – disconnect one cable and unbolt one screw (both visible on above photo). When I took it out I could see that the ceramic holder is cracked and the sensor’s rod is free to move about 60 degrees resulting in incorrect readings.
A little harder task was waiting for me in with the igniter – first I had to disconnect the odd plastic connector, then two bolts.
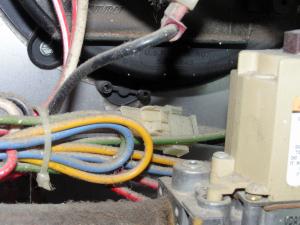
After that I had to transfer metal bracket to the new one and carefully place it there without cracking the new one hitting other parts of furnace. It took me… well 30 seconds?
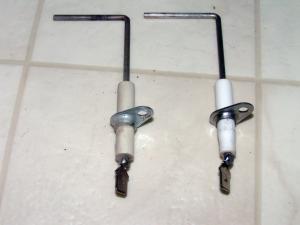
Below new and old one together and the new one installed in the furnace.
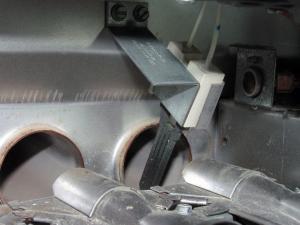
Some additional cleaning and our furnace works like new.
Technorati Tags: furnace, cracked igniter, replacement, flame sensor, cleaning